1. Memory, HDD Installation
Refer to the official video above to install Memory and HDD.

2. Power on and start up
2.1 Insert standard, power cord, network cable, HDMI cable (connected to the monitor).
*Please be sure to connect to the Internet for the first time setup.

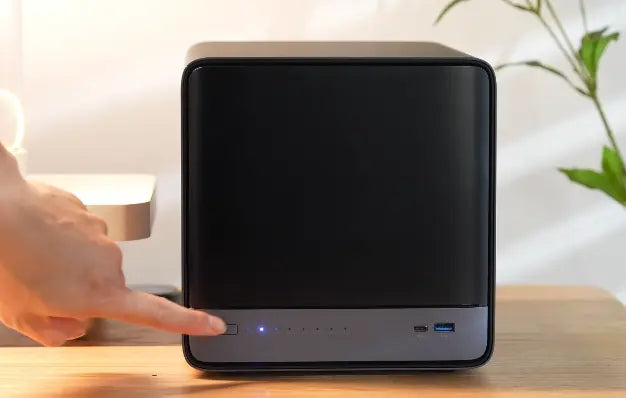
2.2 Press the power button to turn on the device.

2.3 Wait 3-5 minutes until the monitor displays the LOGO + IP Address (successful startup).

Note: There is no system desktop, and other devices are required for operation.
2.3.1 MinisCloud OS does not have a system desktop
2.3.2 Requires another computer/phone for interaction
3. Install the Client APP
3.1 Browser Access: http://www.minisforum.com
→ Top "SUPPORT" → Search for "N5" or "N5 Pro".
3.2 Download and install the APP corresponding to your system.

4. Add NAS
4.1 Open the APP, click Scan or enter the IP Address to add a device

5. Administrator Initialization
5.1 Register an account: Fill in the username/password (administrator account), email/phone number is optional

5.2 Create Storage Pool

-
⚠️ At least one additional hard drive (not the built-in 128G SSD) must be added.
-
⚠️ The operation will format the selected hard drive!

6. Activation completed
-
After the storage pool is successfully created, it will automatically enter the system desktop, and NAS will be ready for use.

1 comment
mike
The link to the video to install RAM and HD is dead.
Leave a comment
All comments are moderated before being published.
Este sitio está protegido por hCaptcha y se aplican la Política de privacidad de hCaptcha y los Términos del servicio.